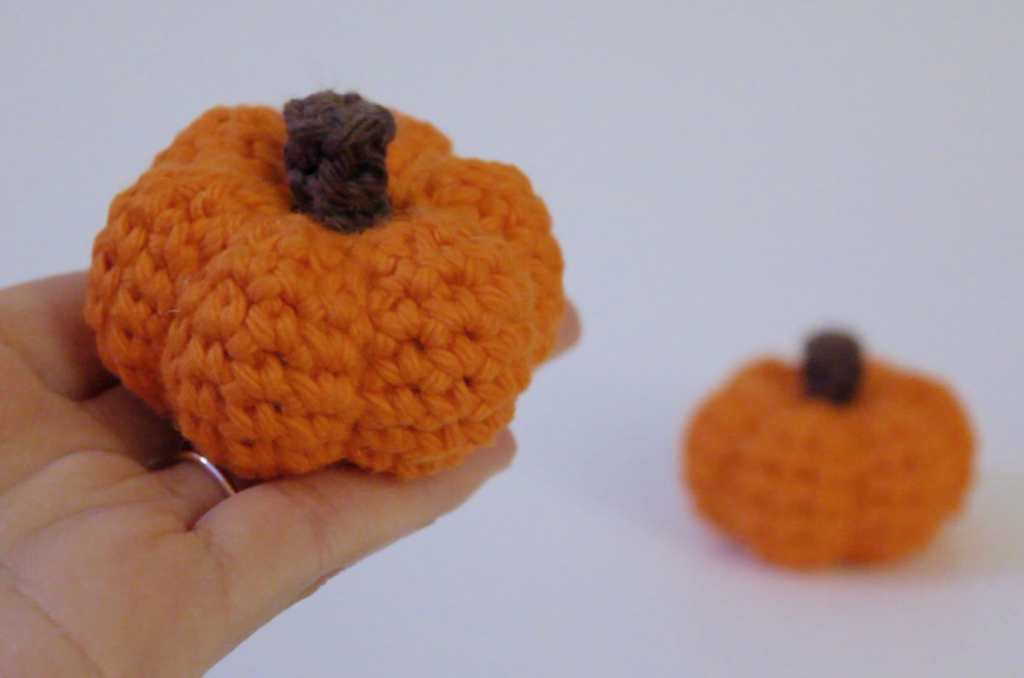
This is my small pumpkin design! This pumpkin is crocheted a bit differently from many of the other pumpkin patterns out there. I designed this pumpkin to be crocheted in rounds, like a typical amigurumi ball. After which, there is some sewing to create the indents of the pumpkin. It is a fairly quick project to make, so let’s get started!
*This pattern is an original designed by U.mei Creations. Please do not duplicate and/or redistribute any part of this written pattern. Finished products may be sold with credit given to U.mei Creations as the designer.*
MATERIALS – Medium (4) weight cotton yarn: orange – 30m, brown – 2m (Recommended brands: Village Yarn Craft Cotton OR Lily Sugar’n Cream OR Bernat Handicrafter Cotton) – Crochet hook size: 3.75mm – Polyester fiberfill – Yarn needle – Scissors – Stitch marker [optional]
ABBREVIATIONS
MR – magic ring
st – stitch
slp – slip
sc – single crochet
inc – increase (2 single crochet in the same stitch)
dec – invisible decrease (single crochet 2 together in the front loops only)
ch – chain
BLO – back loops only
skp – skip
*This pattern can be made with any type or weight of yarn. Please adjust the hook size and the size of the eyes accordingly.
All parts are crocheted in a continuous round.
PUMPKIN
This pumpkin is crocheted from bottom to top
Using orange yarn:
Rnd 1: sc 6 into MR [6]
Rnd 2: inc 6 [12]
Rnd 3: (inc, slp 1) x 6 [18]
Rnd 4: (inc 2, slp 1) x 6 [30]
Rnd 5 – 10: (sc 4, slp 1) x 6 [30]
Rnd 11: (dec 2, slp 1) x 6 [18]
Rnd 12: (dec, slp 1) x 6 [12]
Add stuffing to the pumpkin before crocheting the last round.
Rnd 13: dec 6 [6]
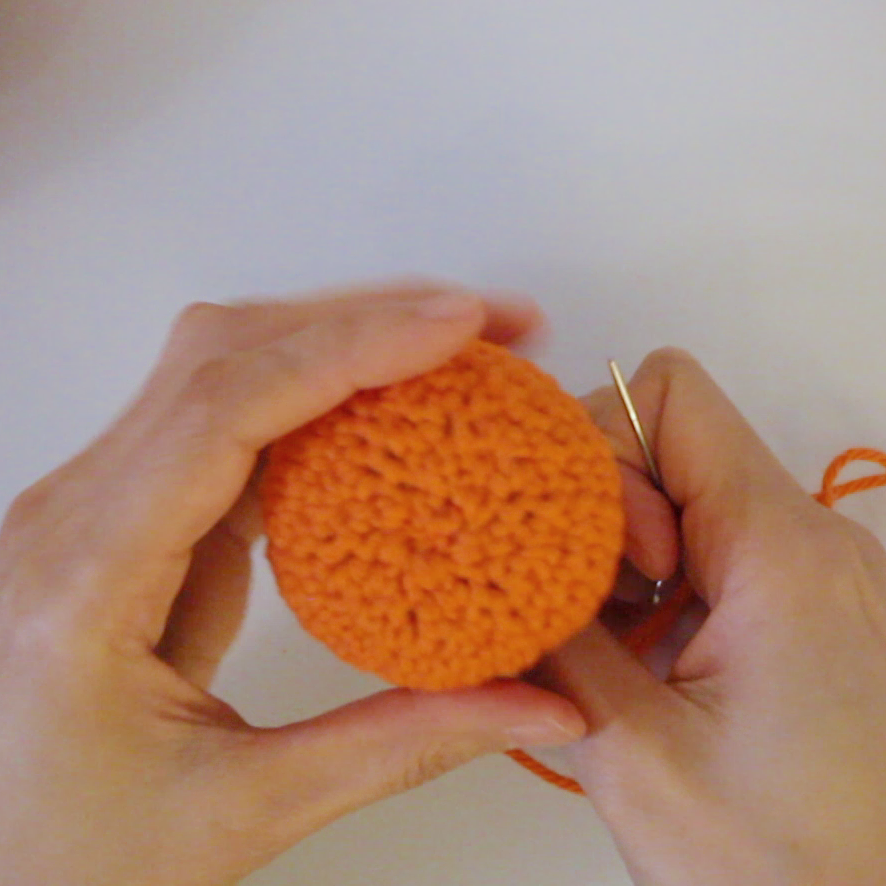
Fasten off and leave a long tail. Close the opening by sewing the front loops together.
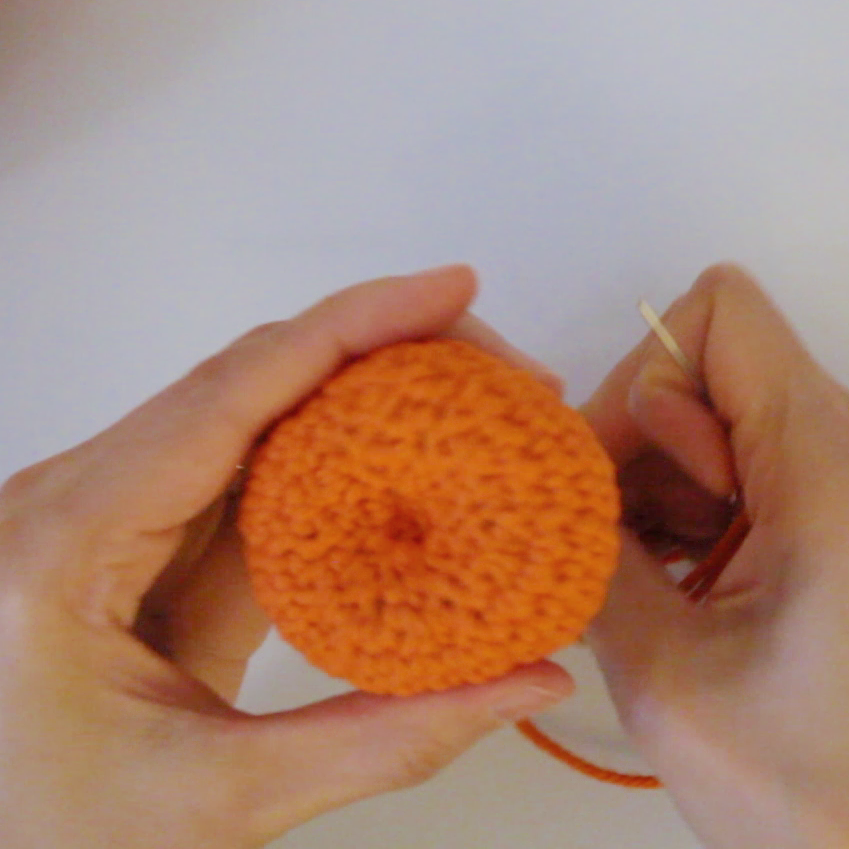
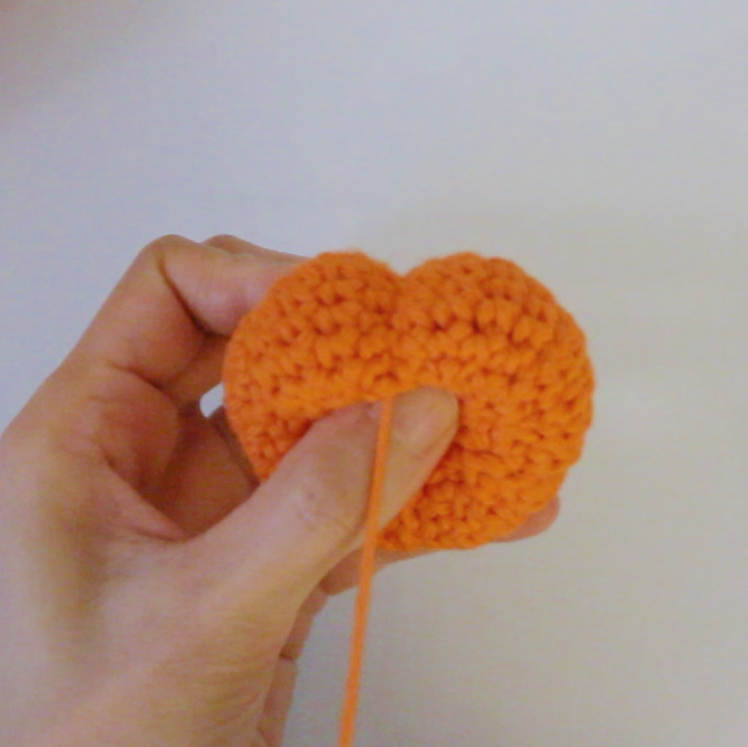
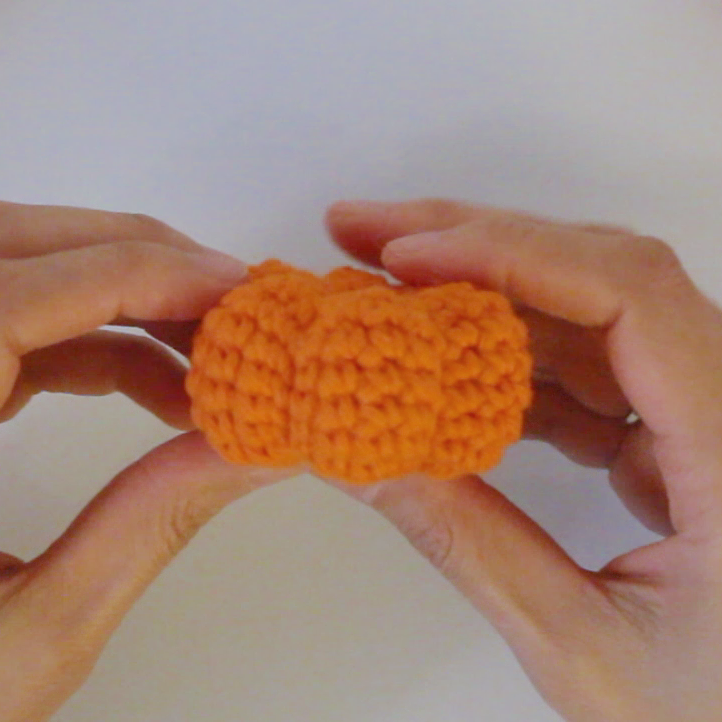
Weave the tail through the center of the bottom and out the center of the top. Slightly cinch the pumpkin. Fasten the tail at the top to keep the cinched look.
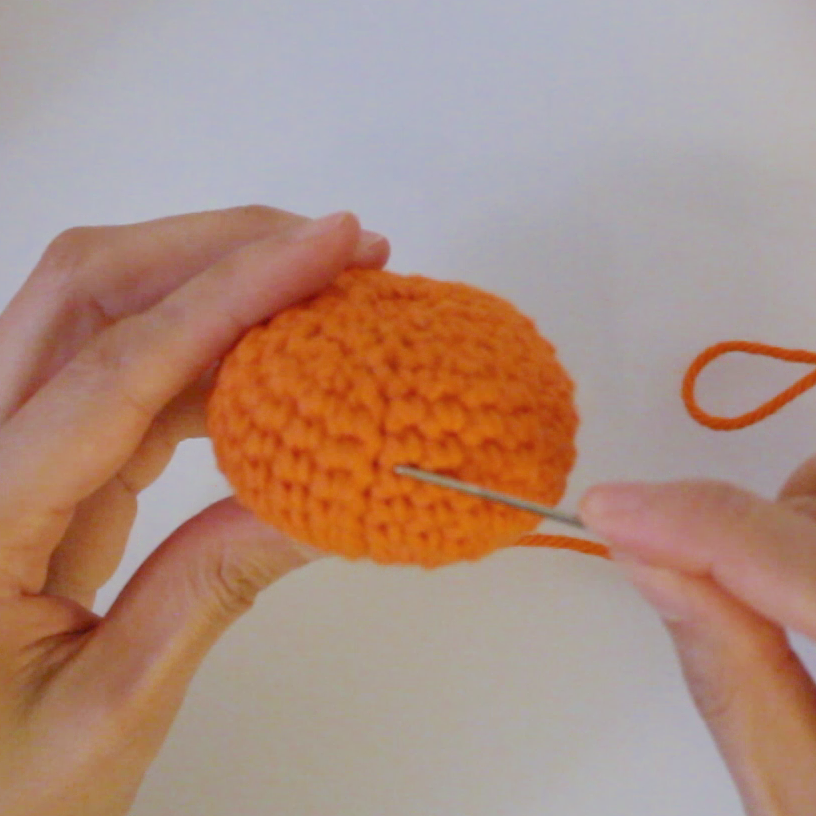
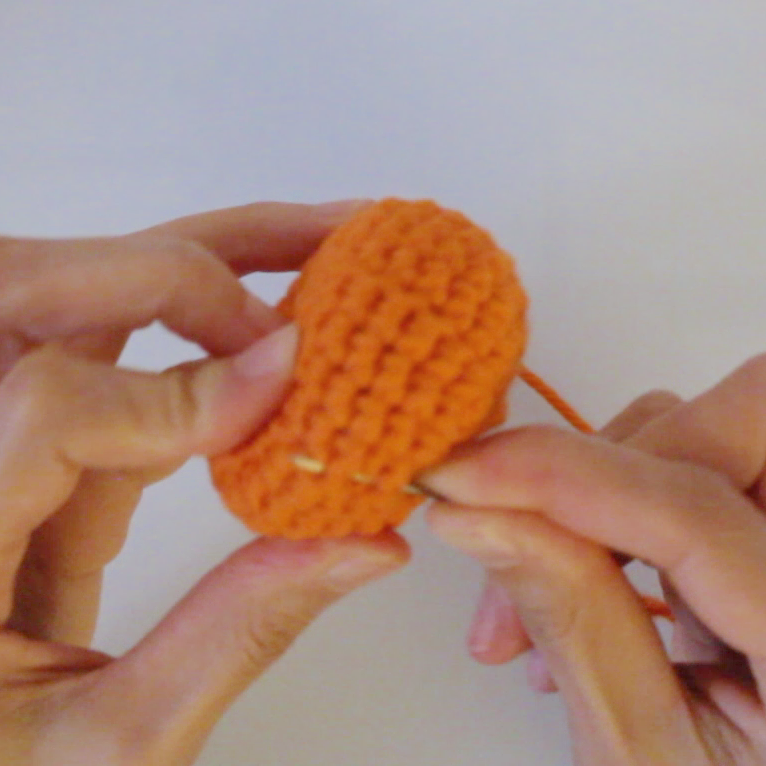
Next, weave the tail along the lines created by the slip stitches. Start at the center and weave along the line. Pull the yarn as you weave to slightly cinch the edge.
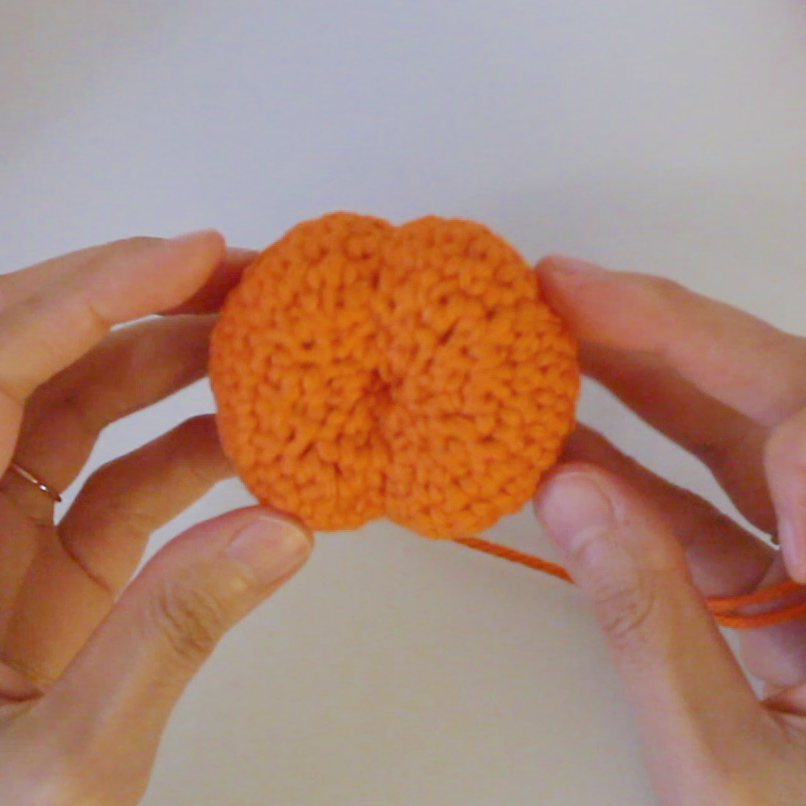
Fasten the yarn at the center and repeat the process. Again, weave the tail through the center from the bottom to the top. Fasten the yarn and weave along another edge.
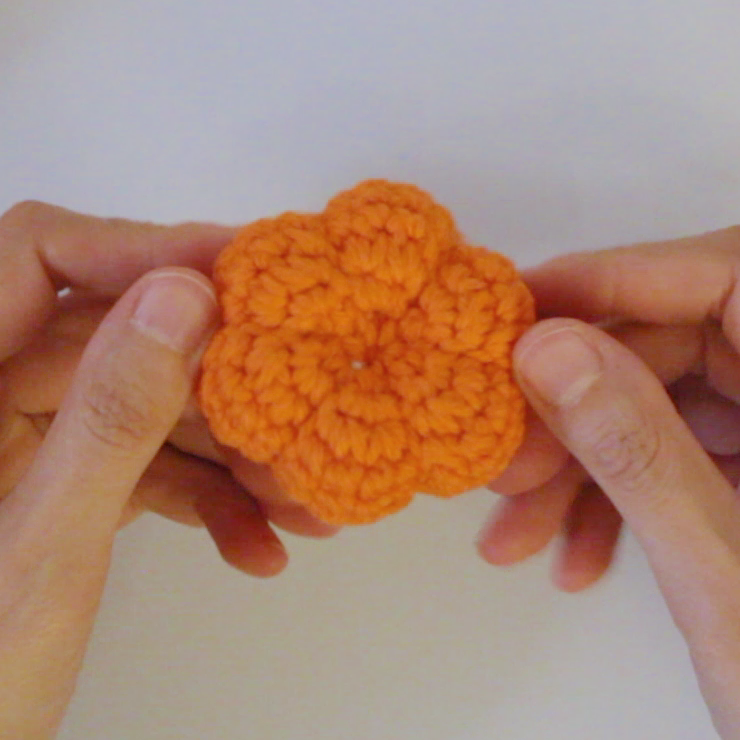
Repeat the process for all 6 edges. Continue until all 6 edges have been cinched. Fasten off for last time and weave in the tail. Squish the pumpkin to even out the shape.
STEM
This stem is crocheted from top to bottom
Using brown yarn:
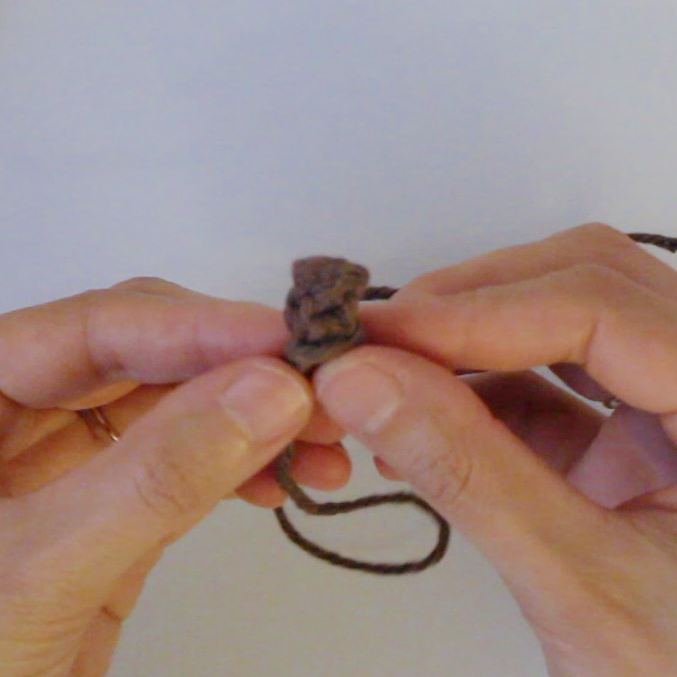
Rnd 1: sc 5 into MR [5]
Slip into the back loop of the first stitch.
Rnd 2: sc 5 in the BLO [5]
Slip into the first stitch and fasten off. Leave a tail for sewing. Adjust the shape of the stem.
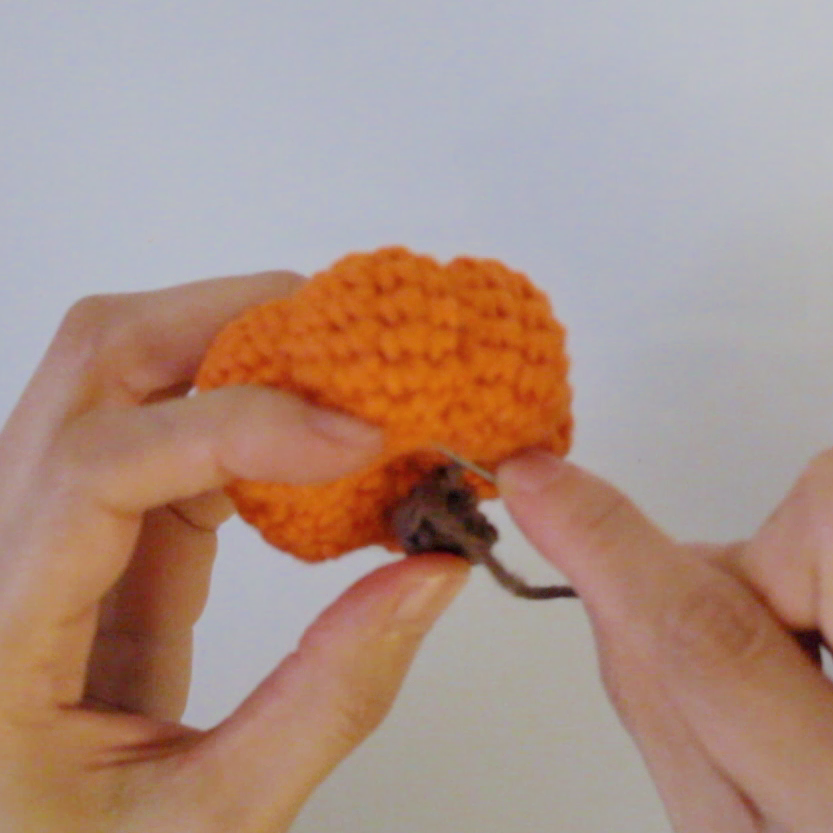
Sew the stem to the top of the pumpkin. Fasten off and weave in the end. Shape the pumpkin some more.
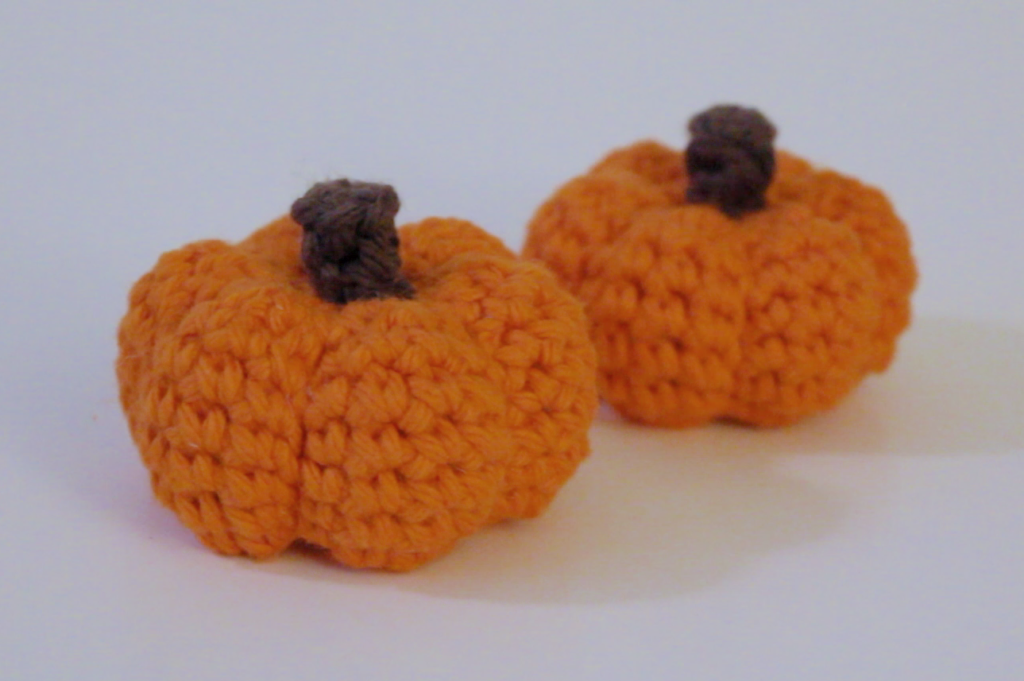
Your pumpkin is now complete!
I hope you enjoyed this pattern! Please tag me if you make and share this creation on Instagram! @umeumei