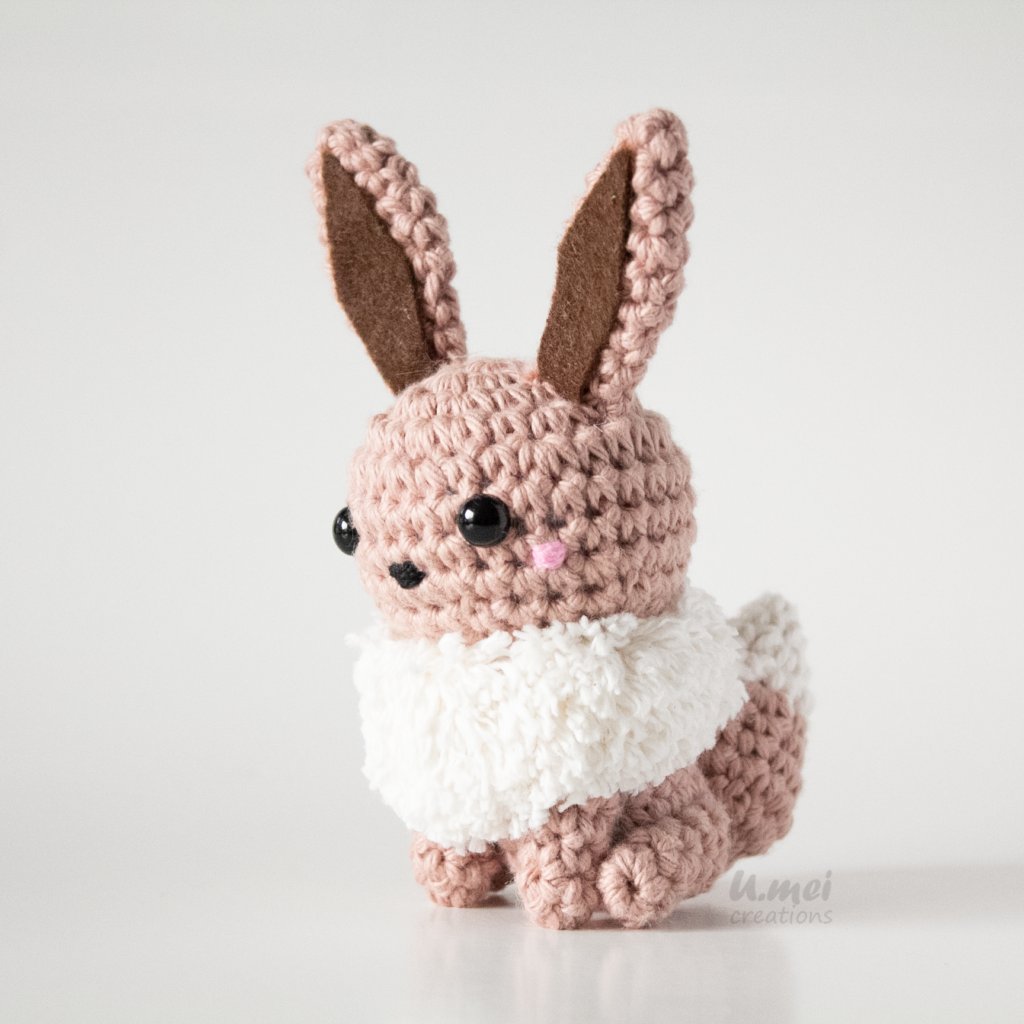
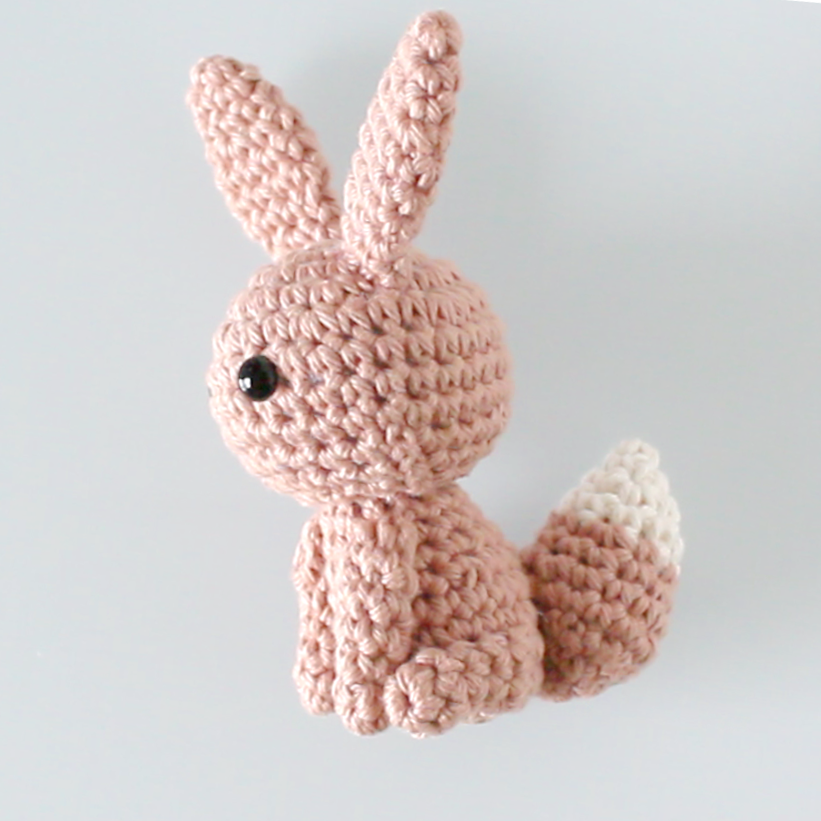
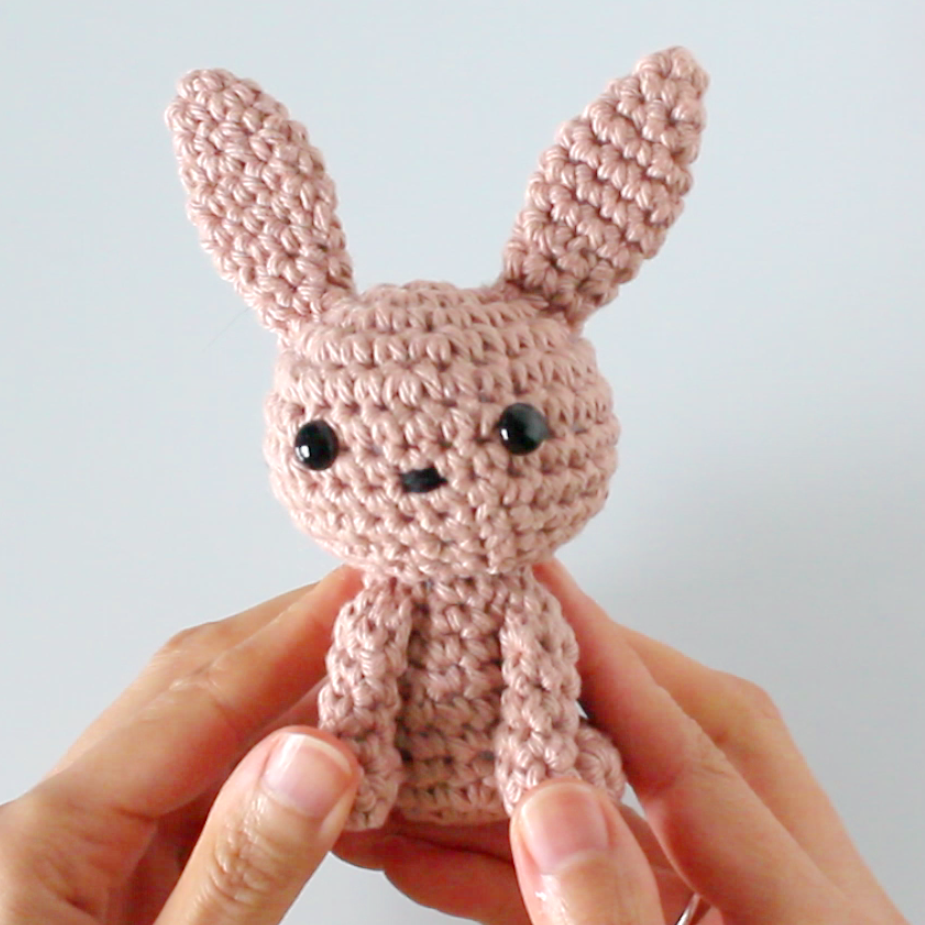
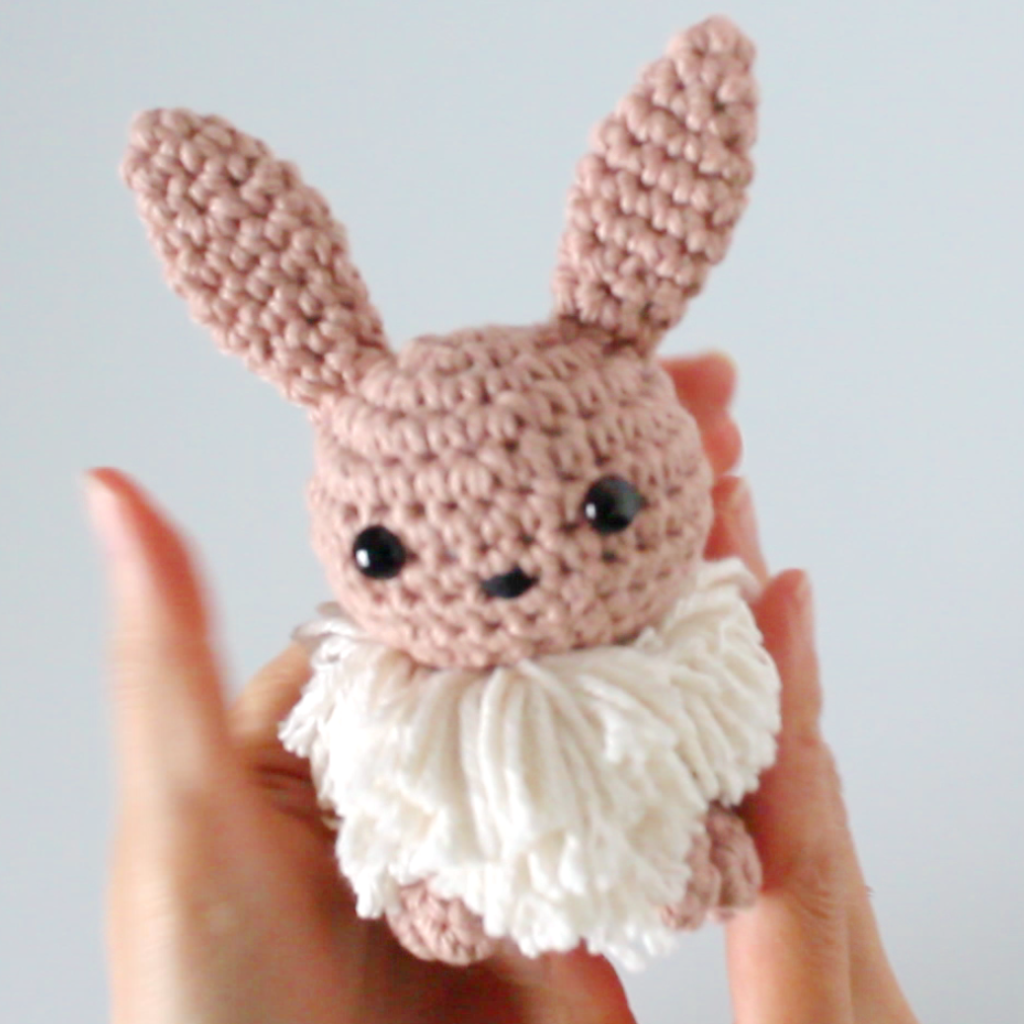
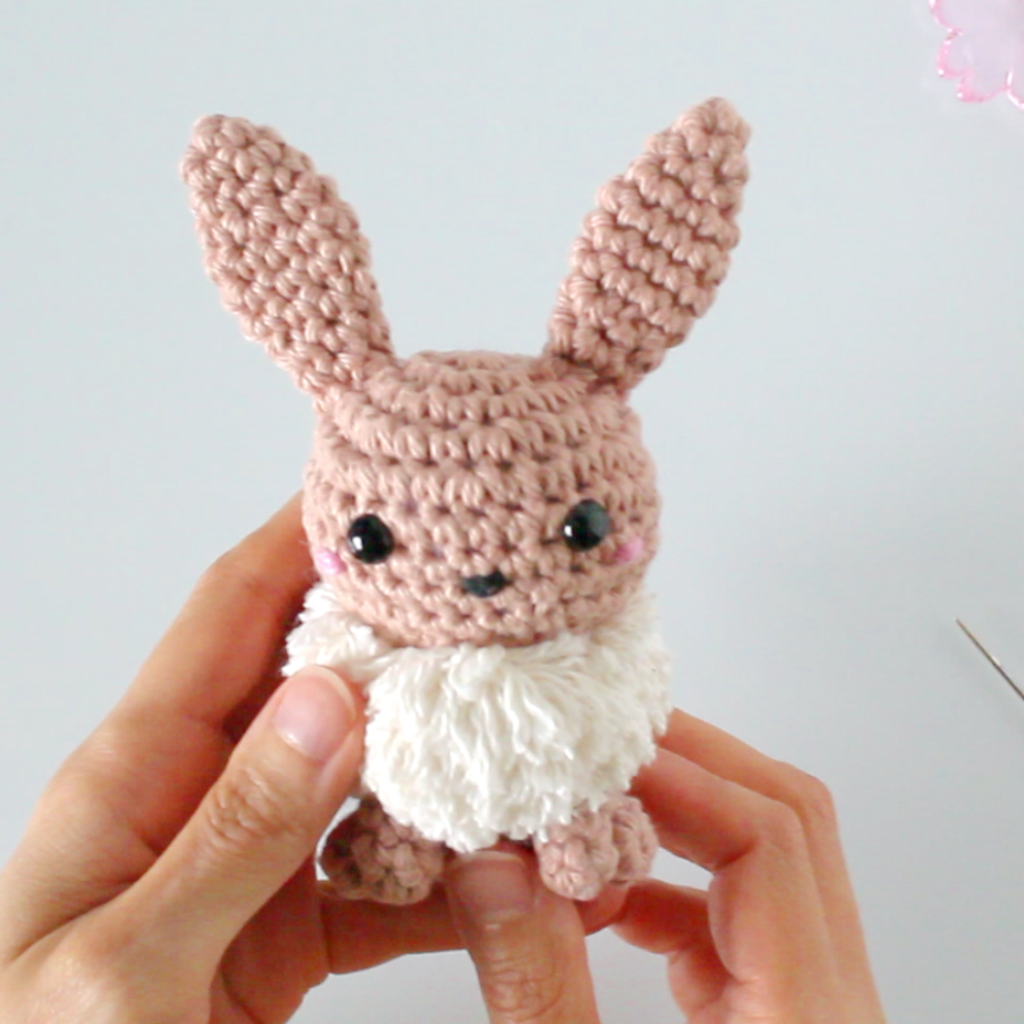
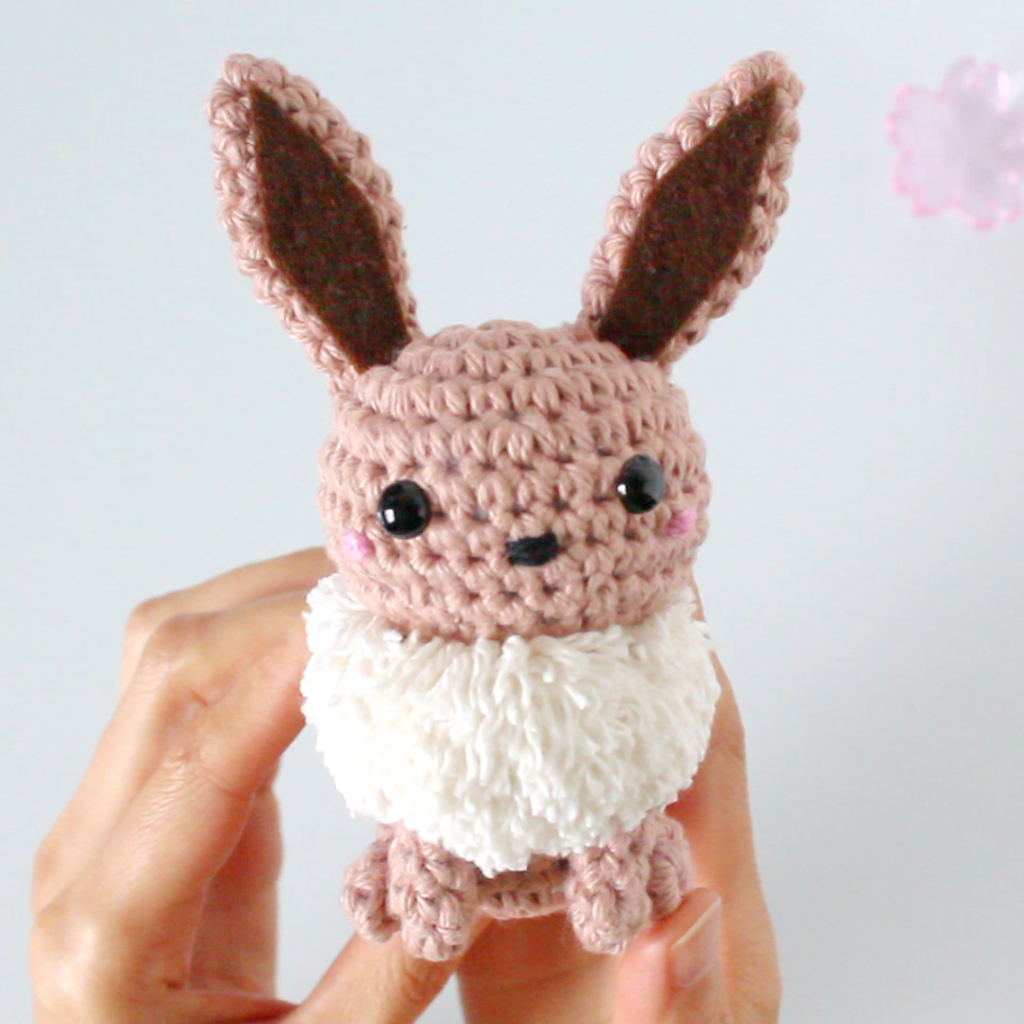
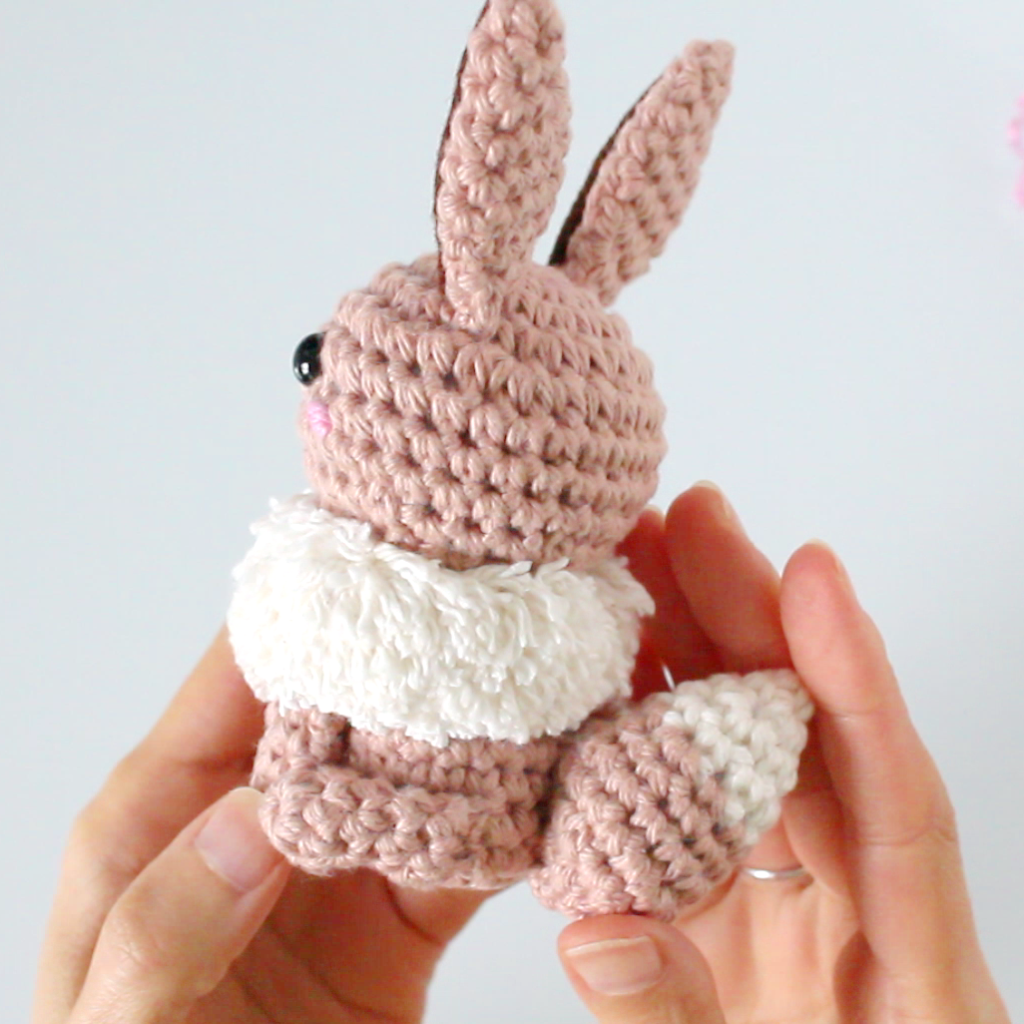
This is the fan-made pattern that I created of Eevee back in 2015. Eevee was the first Pokemon that I ever crocheted, at the request of a friend. Today, I will be sharing my pattern with you!
*This pattern is for personal use only! It was designed by U.mei Creations. Please do not duplicate and/or redistribute any part of this written pattern.*
MATERIALS – Medium (4) weight cotton yarn: brown and beige, black, pink (Recommended brands: Village Yarn Craft Cotton OR Lily Sugar’n Cream OR Bernat Handicrafter Cotton) [1 ball] – Crochet hook size: 3.75mm – Black safety eyes: 8mm – Polyester fiberfill – Yarn needle – Scissors – Yarn stiffener OR Mod Podge – Sewing pins [optional] – Stitch marker [optional]
ABBREVIATIONS
MR – magic ring
st – stitch
slp – slip
sc – single crochet
inc – increase (2 single crochet in the same stitch)
dec – invisible decrease (single crochet 2 together in the front loops only)
ch – chain
skp – skip
*This pattern can be made with any type or weight of yarn. Please adjust the hook size and the size of the eyes accordingly.
All parts are crocheted in a continuous round.
HEAD
The head is crocheted from top to bottom.
Using brown yarn:
Rnd 1: sc 6 into MR [6]
Rnd 2: inc 6 [12]
Rnd 3: (inc, sc 1) x 6 [18]
Rnd 4: (inc, sc 2) x 6 [24]
Rnd 5: (inc, sc 3) x 6 [30]
Rnd 6 – 8: sc 30 [30]
Rnd 9: (dec, sc 3) x 6 [24]
Rnd 10: (dec, sc 2) x 6 [18]
Rnd 11: (dec, sc 1) x 6 [12]
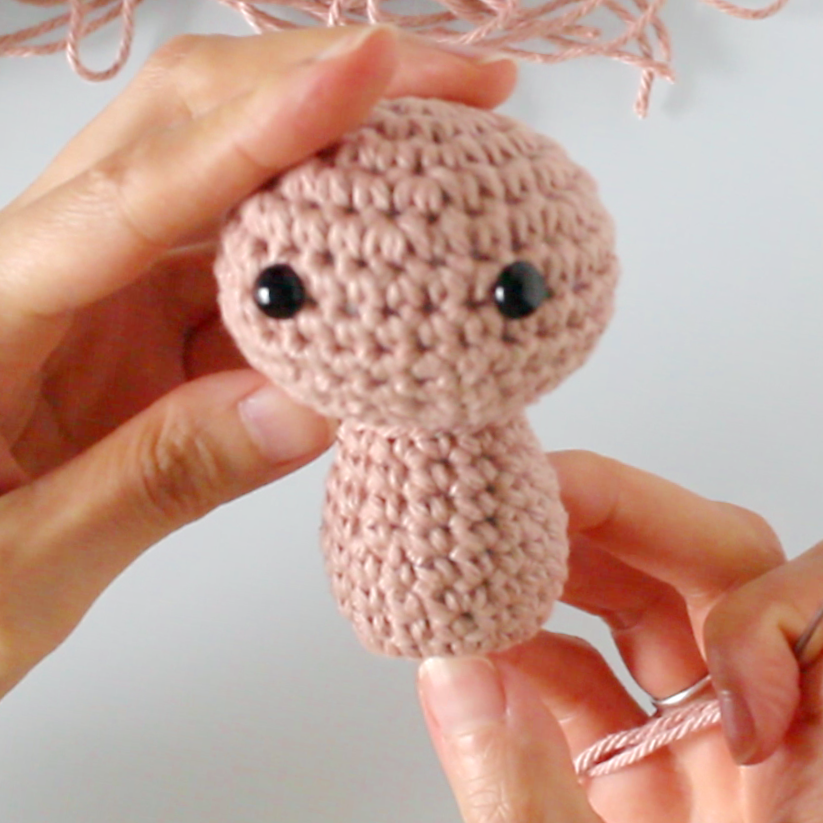
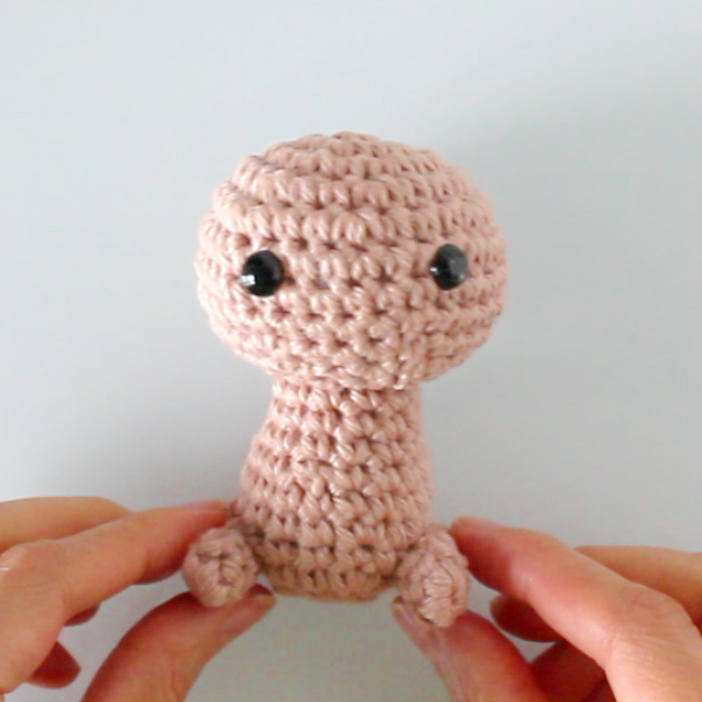
Fasten off and leave a tail for sewing. Secure the safety eyes approximately five stitches apart between rounds 6 and 7. Stuff the head with fiberfill.
Fasten off and leave a tail for sewing. Stuff the body.
EARS
Make 2 using brown yarn:
Rnd 1: sc 3 into MR [3]
Rnd 2: inc 3 [6]
Rnd 3: sc 6 [6]
Rnd 4: (inc, sc 1) x3 [9]
Rnd 5 – 7: sc 9 [9]
Rnd 8: (dec, sc 1)x3 [6]
Rnd 9: sc 6 [6]
Fasten off and leave a tail for sewing. Flatten the ears.
FRONT LEGS
Make 2 using brown yarn:
Rnd 1: sc 5 into MR [5]
Rnd 2 – 6: sc 5 [5]
Fasten off and leave a tail for sewing.
BACK LEGS
Make 2 using brown yarn:
Rnd 1: sc 5 into MR [5]
Rnd 2 – 5: sc 5 [5]
Fasten off and leave a tail for sewing.
TAIL
Start with beige yarn:
Rnd 1: sc 3 into MR [3]
Rnd 2: inc 3 [6]
Rnd 3: (inc, sc 1) x3 [9]
Rnd 4: sc 9 [9]
Change to brown yarn.
Rnd 5: (inc, sc 2) x3 [12]
Rnd 6: sc 12 [12]
Rnd 7: (inc, sc 3) x3 [15]
Rnd 8: (inc, sc 4) x3 [18]
Rnd 9: (dec, sc 1) x6 [12]
Rnd 10: dec 6 [6]
Fasten off. Stuff the tail with fiberfill.
ASSEMBLY
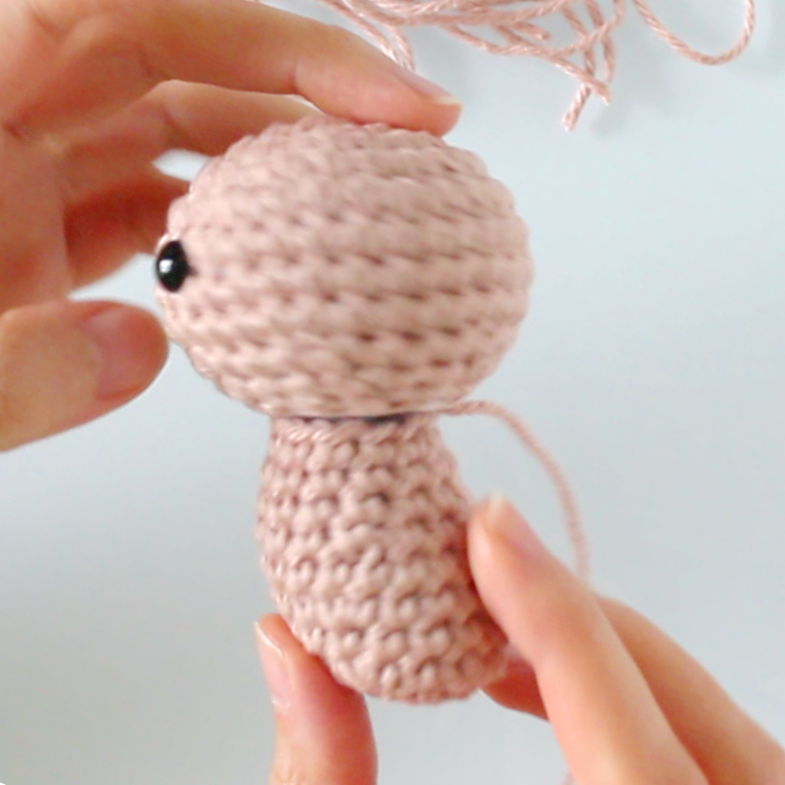
1. Head & Body – Align the head with the body. Sew both pieces together using one of the tails. (Tip: use a mattress stitch for an invisible seam.)
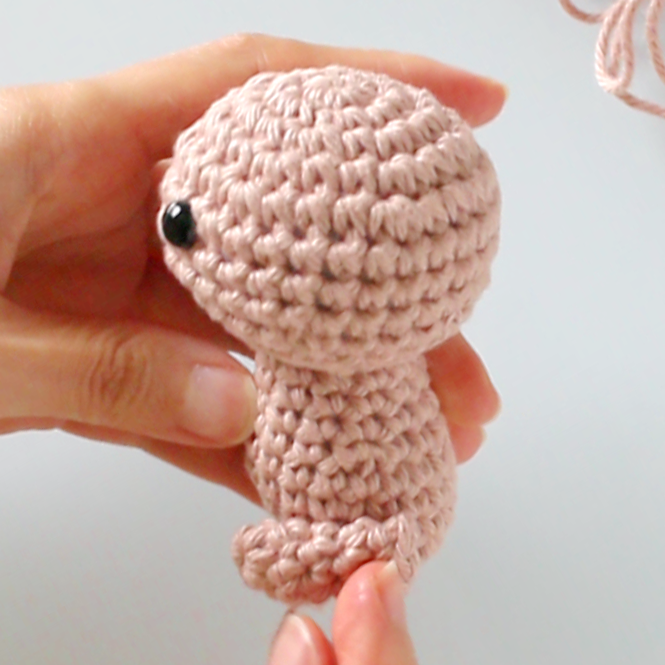
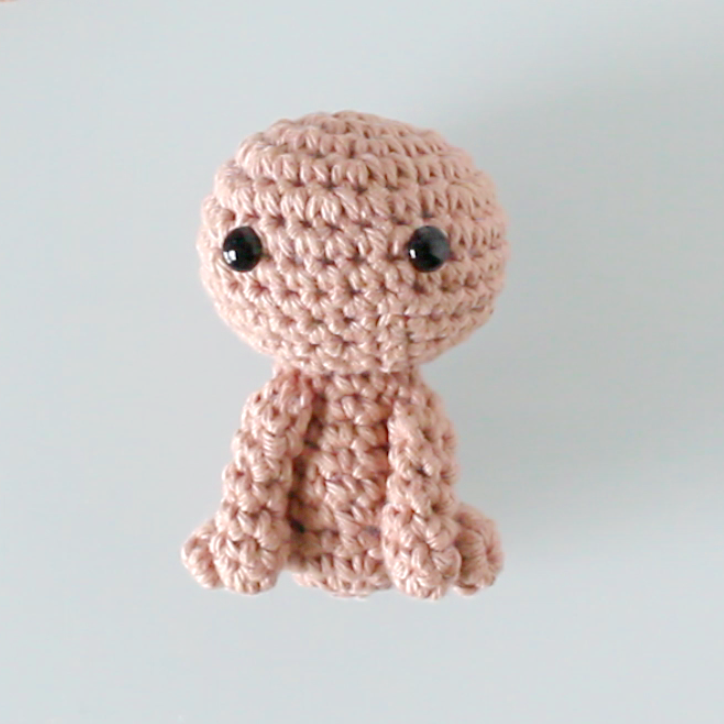
2. Back Legs – Sew the back legs to the side of the body. They should be placed parallel to the ground for the sitting position. Add an extra stitch halfway down the leg and secure it closer to the front of the body. This will keep the leg in position. Repeat for the other leg.
3. Front Legs – Sew the front legs to the body starting at the neck. Add an extra stitch halfway down the leg and secure it to the body. This will keep the leg in position. Repeat for the other leg.
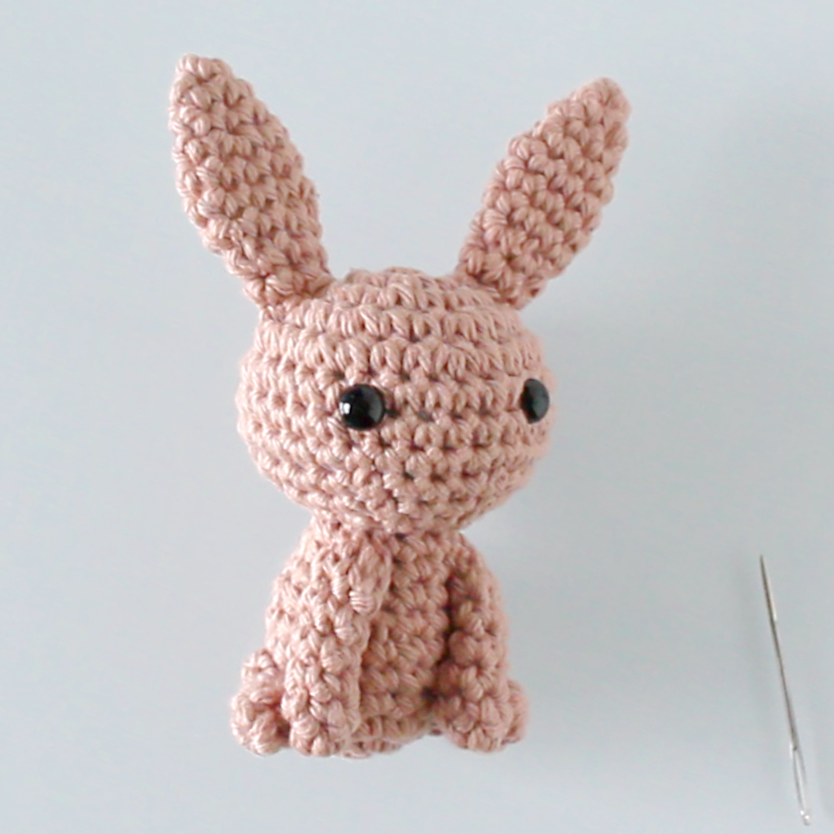
4. Ears – Attach the ears to the top of the head.
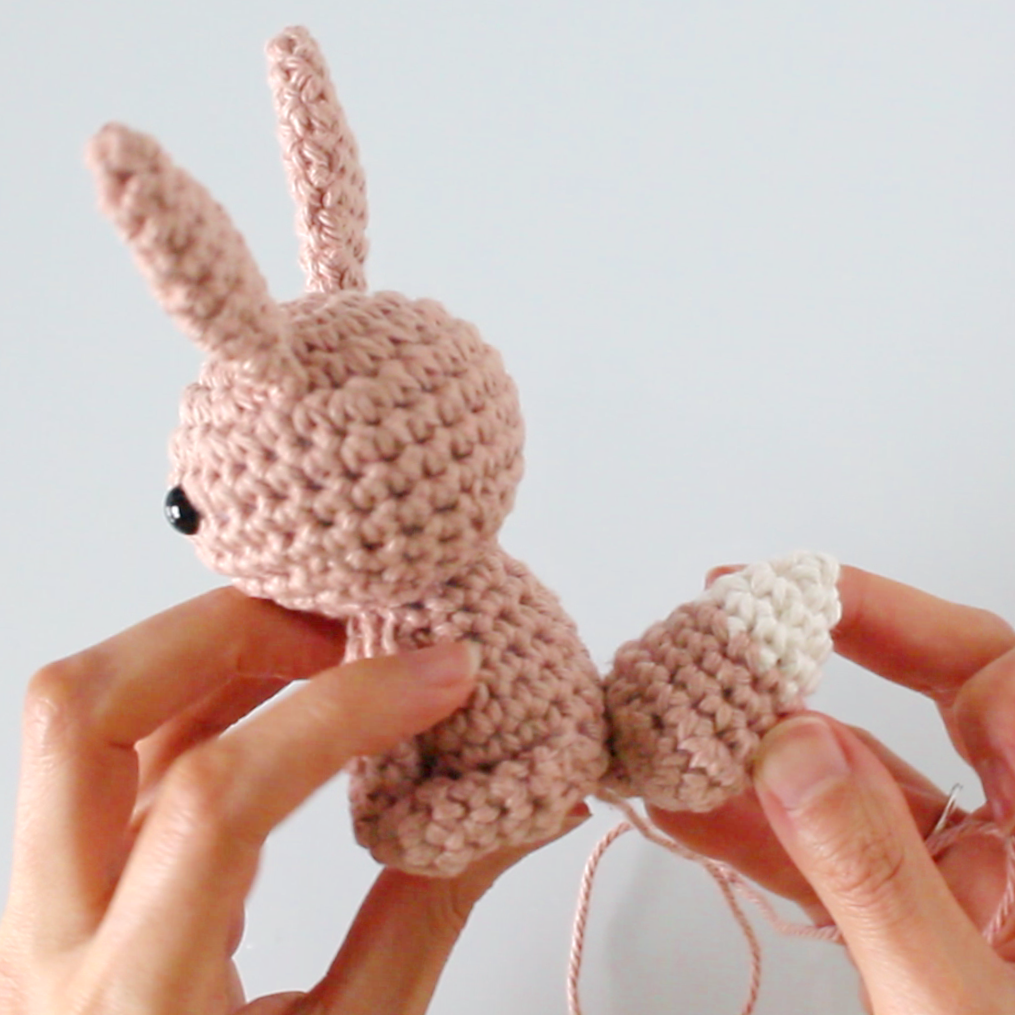
5. Tail – Sew the tail on the back starting at the bottom. Attach it across a few rounds to keep it upright.
6. Nose– Use some black yarn to embroider the nose.
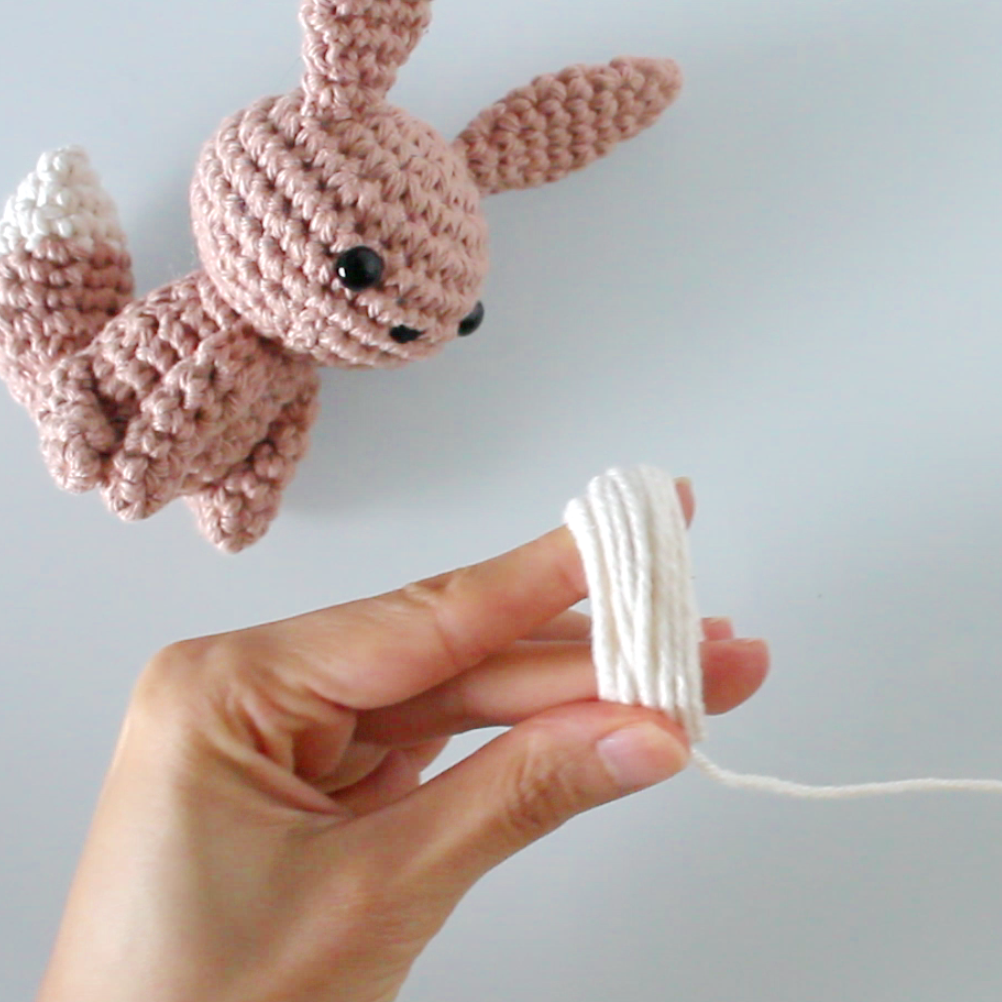
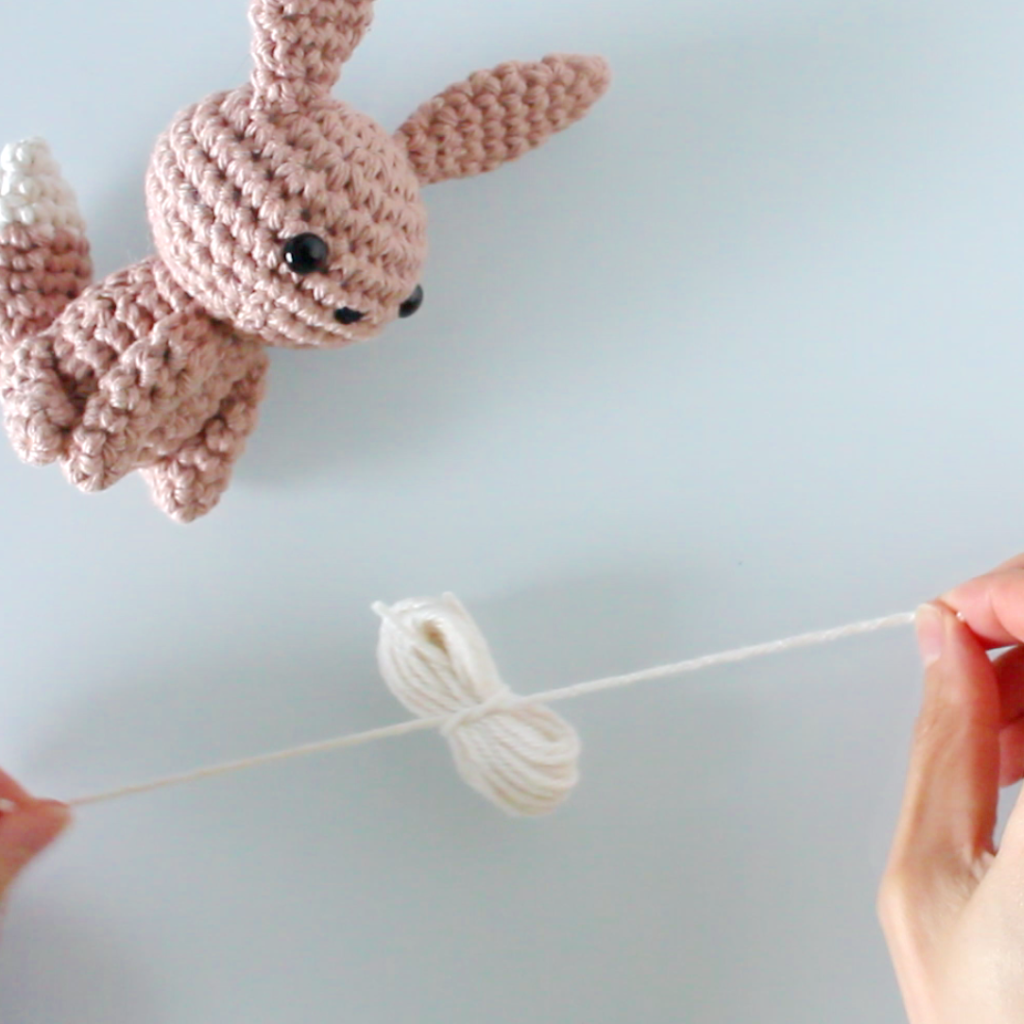
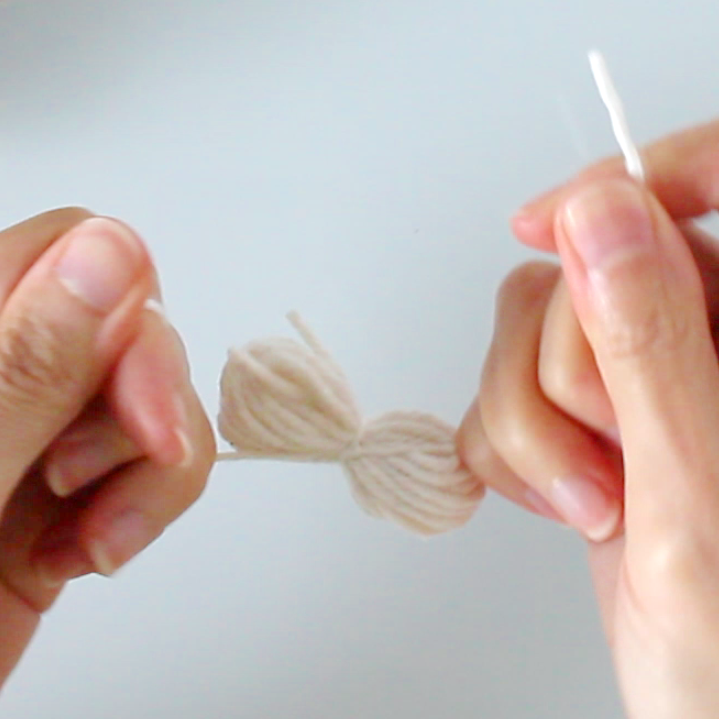
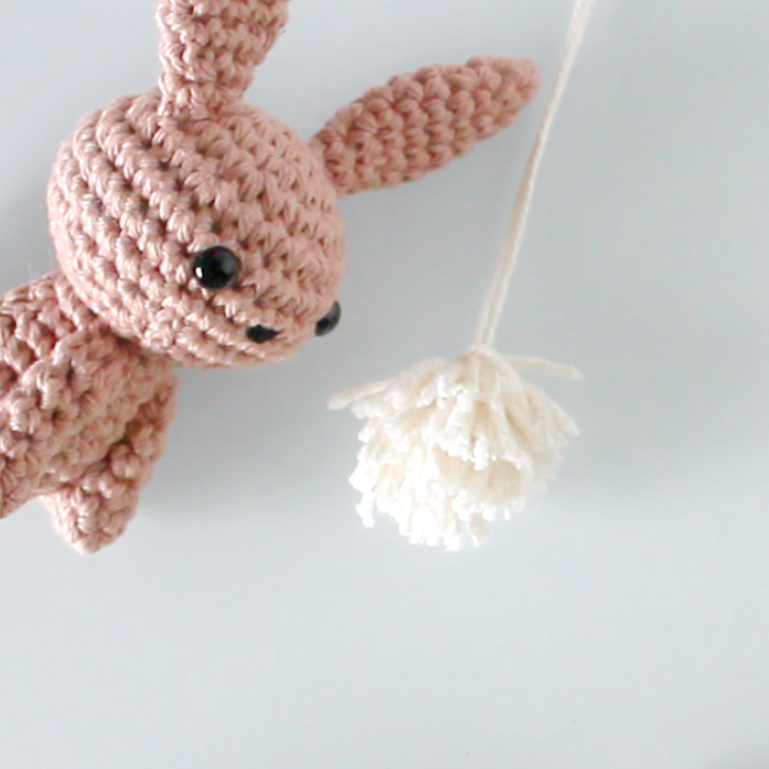
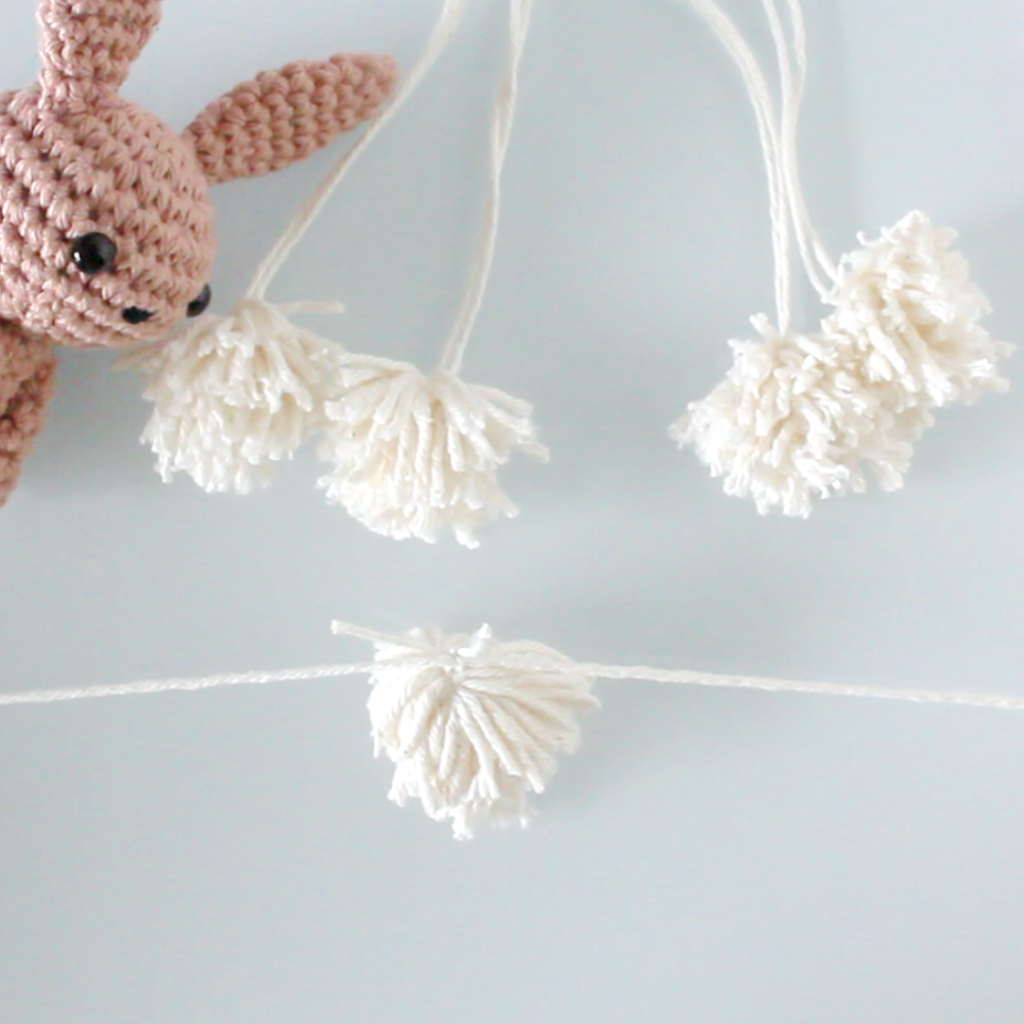
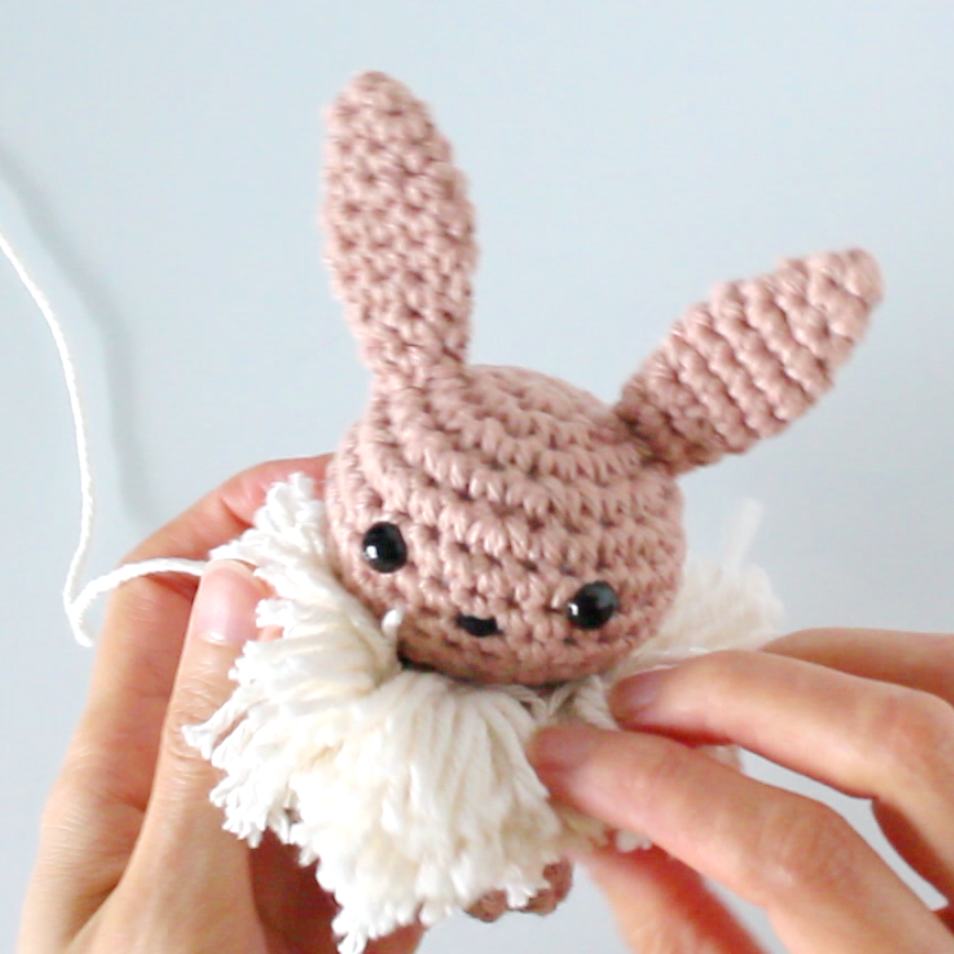
7. Fur collar – The fur collar is made up of five pompoms. Make 4 pompoms that are around 3 cm in diameter. Make the fifth pompom slightly bigger. Wrap the yarn around your fingers or a piece of card 20-25 times. Use a separate piece of yarn to tie the center of the bundle tightly, then cut the loops. Fluff the pompom. The pompoms do not need to be round. We will trim them at the end when the collar is attached to the neck.
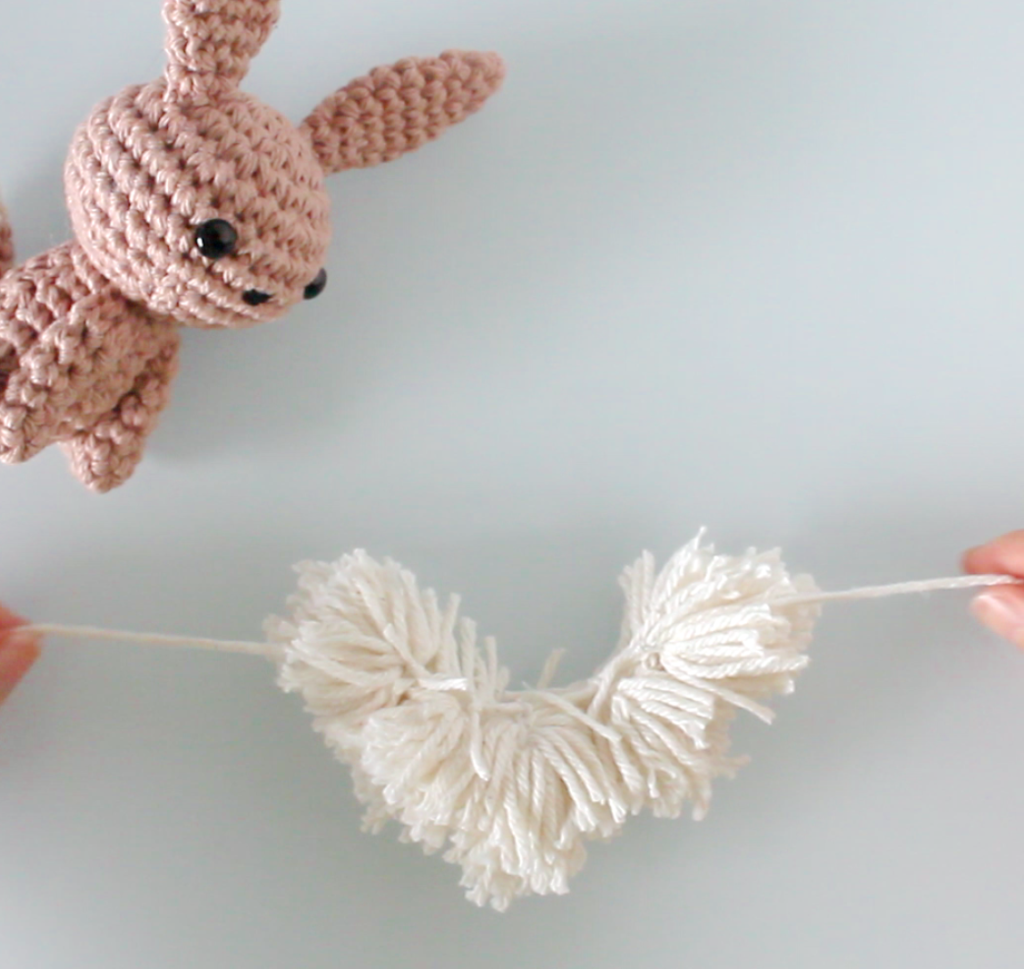
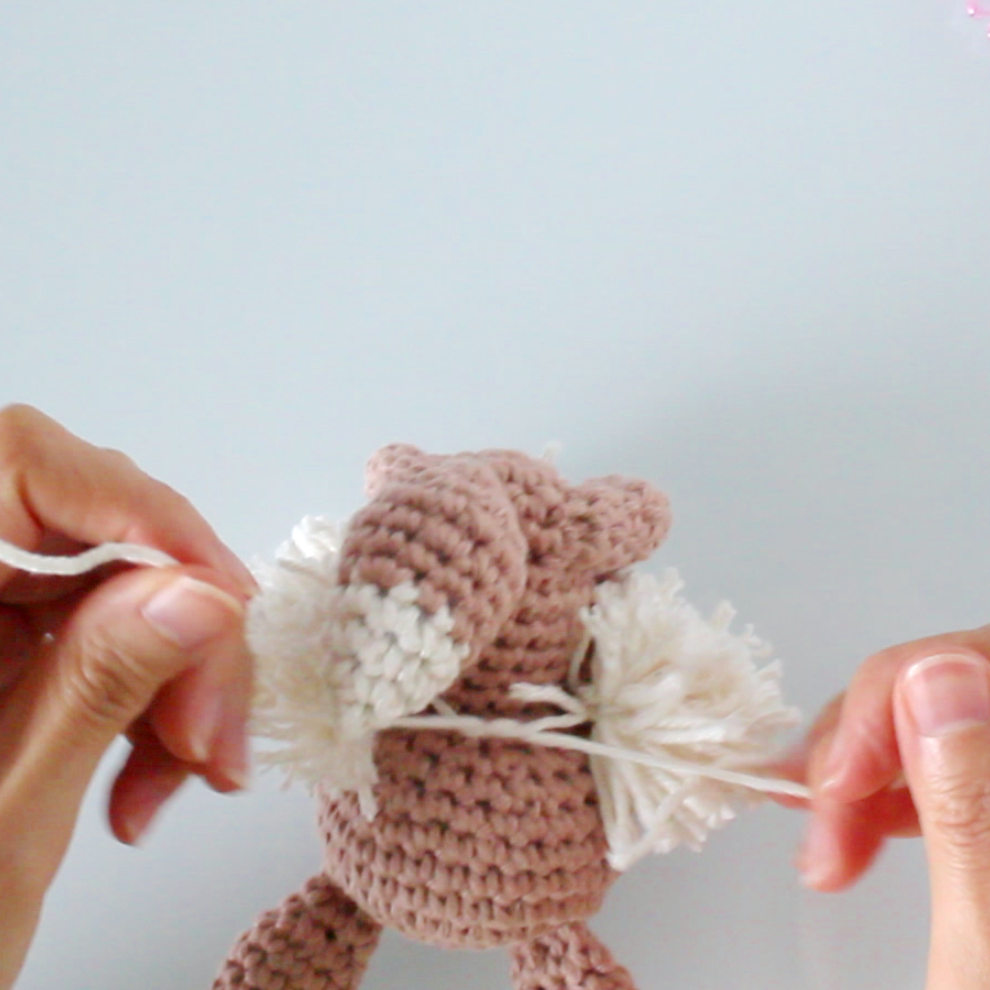
Attach the pompoms to another long piece of yarn with the biggest pompom in the center (small, small, big, small, small). Space them evenly as you go. Now, tie the string of pompoms tightly around Eevee’s neck. Make sure the big pompom is at the front and center of Eevee. Adjust the position of the pompoms if needed.
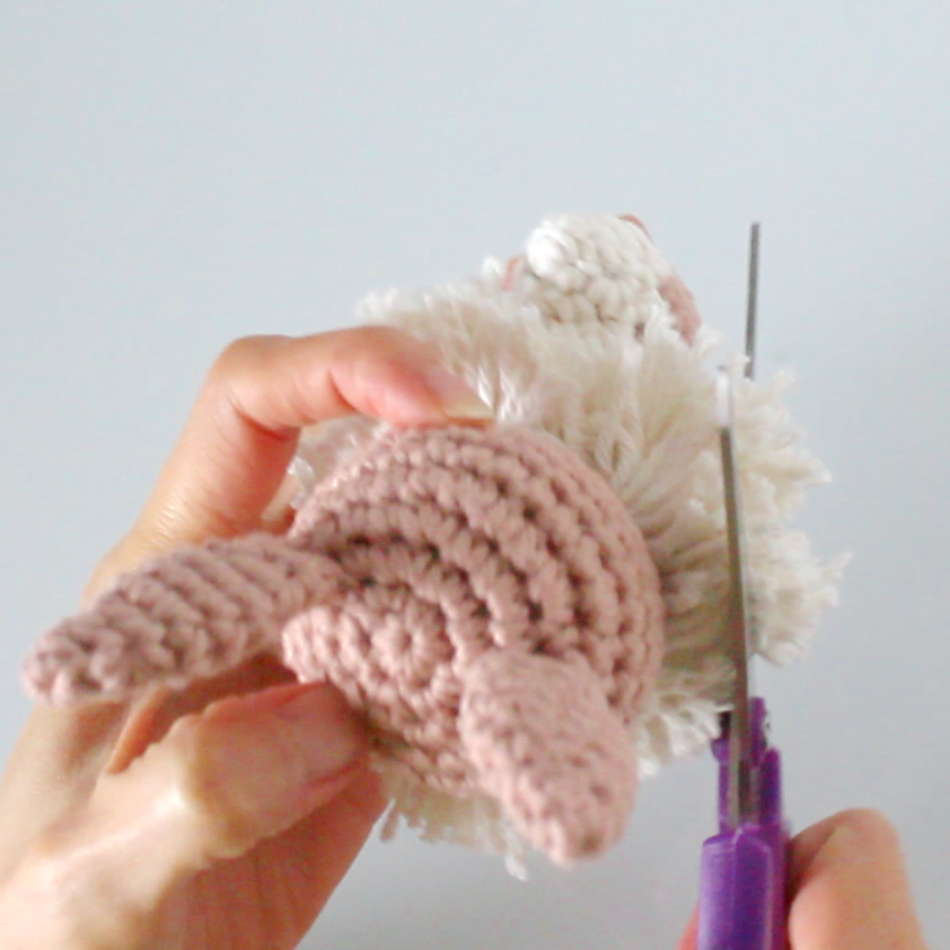
Now, fluff and trim the collar to your liking. I use a doll brush to help with the fluffing. The look of the collar will look different depending on the type of yarn you use. I used 100% cotton yarn for mine.
8. Blush – Use some pink yarn to embroider the blush on the cheeks.
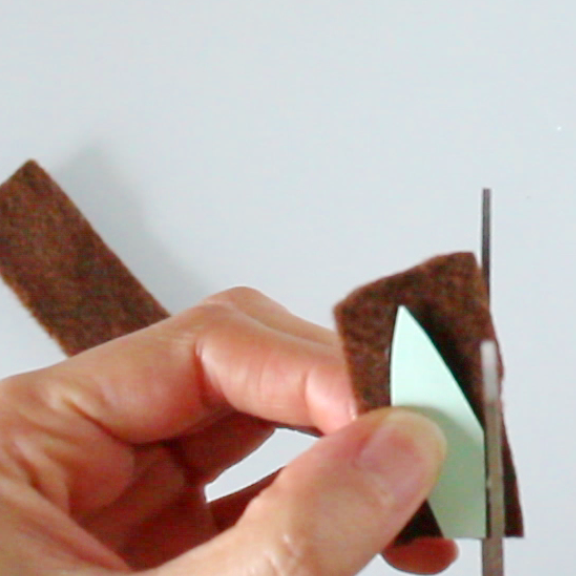
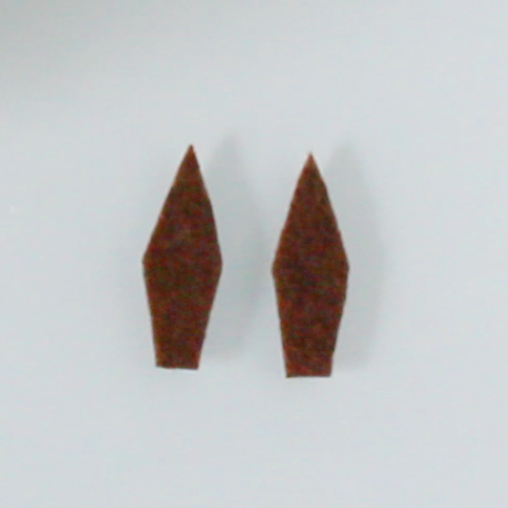
9. Inner Ear – Cut the inner ear shape from brown felt. Glue the felt to the ears using fabric glue. (Tip: making a paper template for the ear shape will help to get equal shapes when cutting the felt.)
Your Eevee is now complete!
I hope you enjoyed this pattern! Please tag me if you make and share this creation on Instagram! @umeumei